The goal of this guide is to give you a fundamental explanation of Base Building according to IC8 rules, and to dive into some more in depth explanations. So all tips and strategies henceforth are to defend against strategies that comply with IC8 troop rules.
Contents
What are the IC8 rules?
A Max of…
-15 Hogs and Loons combined
(For example, you can have 10 Hogs and 5 Loons, NOT 15 Hogs and 15 Loons)
-1 Pekka (Clan castle pekka counts as 1 pekka)
-5 Dragons (Clan castle dragon counts as 1 dragon)
-5 Valks (clan castle valks count as 1-3 valks)
No Clan castle troops higher then TH8 level
Why IC8?
IC8 rules allows competitive gameplay in a otherwise uncompetitive townhall, due to max cc troops such a balloons, bowlers , pekkas and mass broken strategies such as dragons and hogs. Therefore regular th8 attacks are fundamentally more simple than many other townhalls. If you want a true challenge on both the offensive and defensive side, IC8 standards will help you achieve that.
Note: These rules are subject to slight changes, for examples some communities within th8, use 5 drags or 2 pekkas, nothing way too substantial.
Before we start
There are Many strategies and tips for making IC8 bases and while we will try to cover the main and most effective ones, new methods are constantly coming out. Just because a method is not listed here does not mean it doesn’t work or it was missed out of ignorance or lack of knowledge on our part.
What are you trying to defend?
At TH8 you know the attacker is going to use a kill squad composed of golems, a pekka or two, wallbreakers, wizards, and possibly a healer. The goal of the KS is to get key defenses and items like the bk, dg, spring traps, and air defenses so they cause the secondary unit to finish the base off. The secondary unit varies more. The attacker is most likely going to use hogs as with 1-2 loons to assist in the secondary stage. Dragons and balloons are less likely in the secondary stage.
Baiting the Killsquad
Baiting the KS is one way to ensure a failed attack on your base (assuming it works). Some ways to do this are, placing splash and few single point defenses and a bk on onesde, with a well defended otherside with a majority of the point defenses and dps. The idea is the attacker will attack from the weaker side making his secondary unit unable to clear the opposing side.

A key in ensuring this works is making sure the ks cant get too much value, some good methods in ensuring this are double walls (moats) golem traps teslas, carefully positioned outside defenses (talked about in depth below)
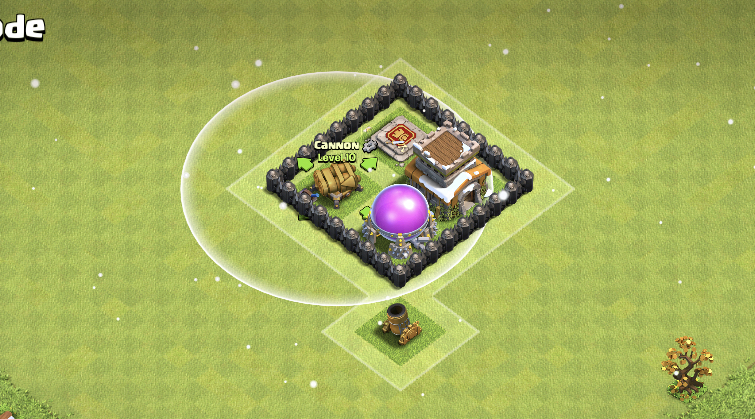
This Picture is a well constructed base against goho
as you can see the bk is with some point defenses and a high dps area this makes taking him out and all the defenses hard.
On the backend we see a dgb, sure to kill any hogs on the backside along with 2 springs.
The idea is the attack either comes from the backside takes the dgb out, and has to come with his secondary unit into a high dps area and lose, or come for the bk and point defenses with a strong ks and not have enough secondary units to clear the backside.
Its an essential lose-lose situation. You want to bait the attacker to think they are getting easy, insane value, but overwhelm there KS and cause a fail, or have a solid backside of the base.
If there were air defenses or a tesla farm with air traps on the backside, it would also be formidable for a secondary attack comprised of dragons and balloons.
Compartment Sizes
–At TH8 you can get away with a lot of strange sizes for your compartments.
-For example, Indo’s, use more compact-mid size bases with a strong focused on defending the KS since they allow 2 pekkas max usually.

-Second example is japanese’s style compartments, these tend to be smaller and more compact, trying to defend hogs-since they use 16-25 of them usually-and not so much a kill squad.

-These styles have lots of undefined edges, and take a long time of base building to master and fully understand
-Good compartment sizes and types


Stopping the Kill Squad
-Double Walls
Doubles walls are walls with 1 space inbetween, them.
They are used to separate value/ different parts of the base

Ex. If you are baiting the ks, you can section off the bt/king from the Anti Hog section so the attacker can’t get both sides with the KS
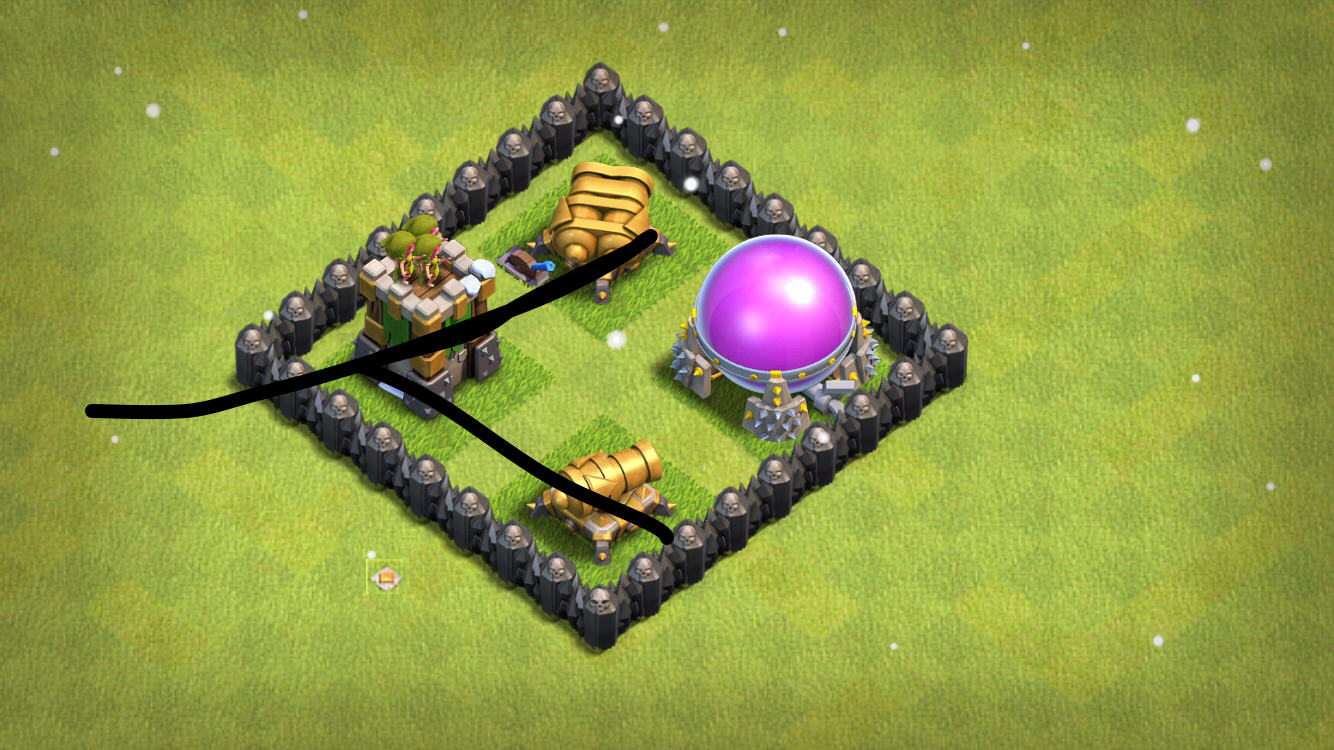
In this picture, the pink is a dead zone/double wall/ moat, it is separating value
If a KS gets to this it will have no way to get past and take out what is behind
Wiz also cannot shoot over this
Defending Golems
-Golem Traps
Places where there are intentional spaces in the walls that separate the golems from the kill squad
It puts a super high amount of DPS on the golems quickly to kill them faster so there is no tanking for the support troops
These are key parts on defending the ks, sooner the golem goes down the better
A common misconception is that you should put a mortar right outside of a trap to make sure the golem goes in there, this is wrong, if you put a mortar there the golem will take longer allowing the funnel to be made and the golem live time overall longer

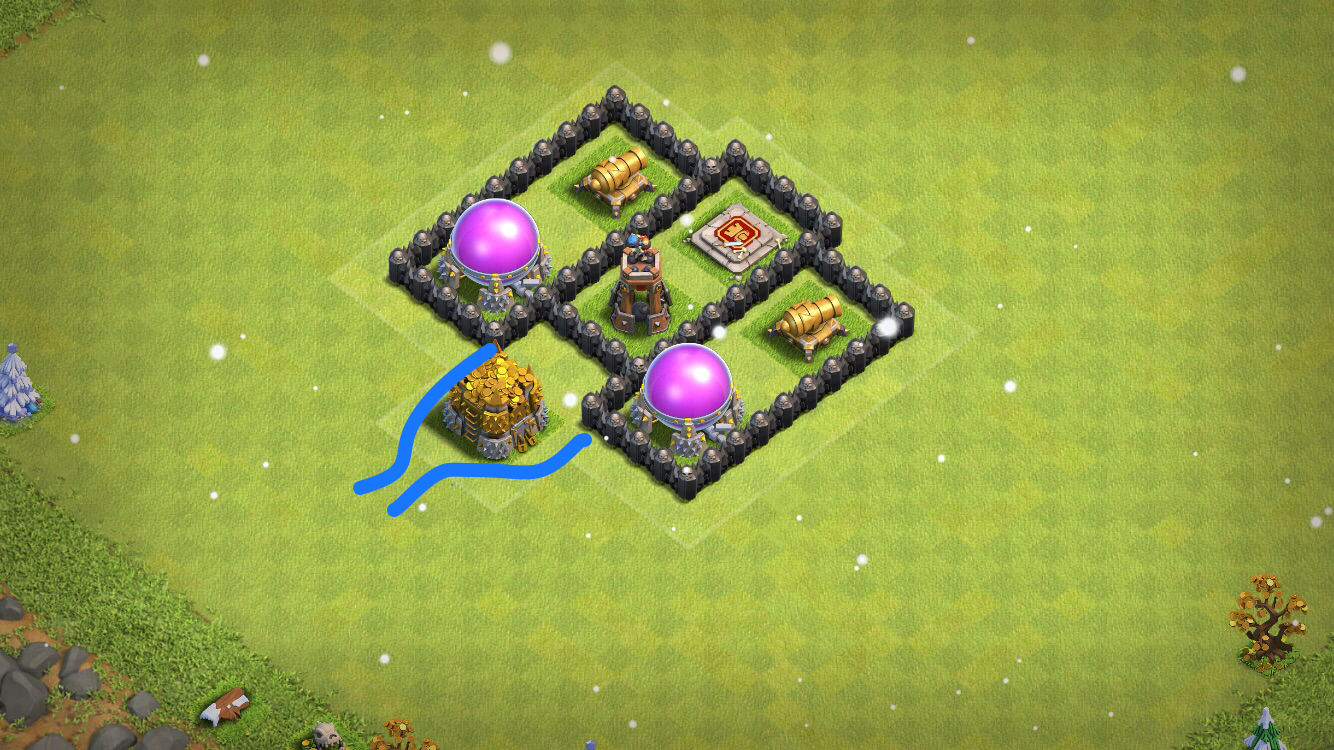
This picture above is of examples that are good golem traps, the SAM is where the golem would enter, and the RAM is the inside of the base.
-Mortars
Mortars can be used to redirect the golem to a place that is not ideal, for example, they can force the golem to go around a dgb or around a bk, making it harder the wiz pekka bk etc to funnel in to take out the structure trying to be protected
If you do not have a golem trap, you will want key placed mortars to cause an awkward entry into your base.

Usually 1- 2 mortars right next to each is the most effective, so the golem will get stuck on them and allow time for the defenses to take it out
The picture above shows an effective way to put mortars so the golems get stuck on the, however the geared defenses can’t reach them, so make sure the defenses can hit them as well
-Clan Castle
The CC should be on the side you think the attacker is going to come from
As soon as the attacker is going to drop there golems it will come out and start doing damage to them before they even drop the rest of there support troops (Wizards, Pekkas, BK….)

Since TH8s only have TH8 level troops in the defending clan castle the most plausible cc is Drag loon or maybe Drag Wiz, although another cc is a valk wizard balloon combination, however this combination is more susceptible to a poison.
Some pros to this cc of valkyrie and balloons are that it does more initially damage to the golem but dies faster than a dragon
-Tesla Farm

Now pretend there are no teslas behind the townhall, in this base a plausible attack would be from 12/9 o clock because you could get rid of the dgb bk cc from an easy angle with no funneling difficulties. Once the golem gets deployed at 12, the teslas wills shred the golem while the townhall and storages make it difficult for the pekka/bk/ wizards to clear the area. Unexpected teslas can cause a huge problem for the attacker, sometimes causing the attack to change his plan mid attack. These bases usually work good the first 1-2x but after that element of surprise isnt there anymore, the bait wont work and it can be easily 3d. You have to predict your opponents attack and defend accordingly, this is why
–Geared Arch/Cannon
At TH8 these are your best friend, they make it hogs, dragons, loons or even golem get killed in a very fast time
You can place these where the golem is most likely to go so they can lock onto it.
These are good in low dps area
Defending Wizards
–2 Tile
The best way to defend wizards is too make 2 tile gaps between the wall and defenses
This makes it so the wiz cannot shoot over the wall and attack the defenses unless a wall break has happened

Wizards cannot shoot into these compartment no matter what, the only way they can is through a wall break
-High Hp buildings
Wizards main job is to create a funnel, High hp buildings like storages can slow down the wizards creating the funnel
This will also help with taking out the golem and leaving the wizard without a tank, and the tank without wizards to backup
Defending Wall Breakers
Note: Wallbreakers are CRUCIAL in guaranteeing a 3*, by wasting wallbreakers and leaving your attacker without enough to create a good funnel and get the KS inside the base, your chances of a 3* are much higher.
-Tesla Sniping
When the attacker fails multiple wall breaks in 1 attack the attack will most likely result in a fail
a very solid way to have them fail is to have a tesla, and sometime a geared AT defending the walls
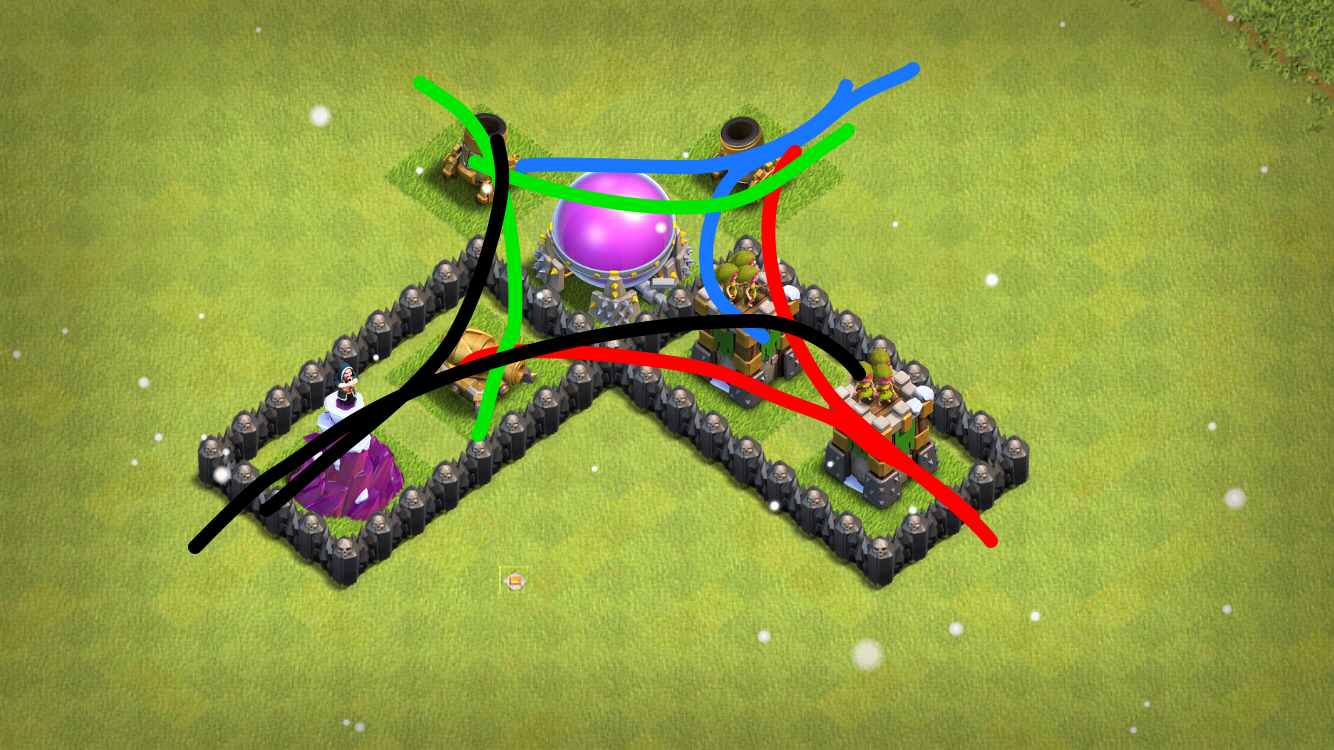
The attacker is going to try to WB when the golem is tanking all the defenses, the way you can snipe them is to have a mortar out of range of the tesla but the tesla is still has range outside of the wall

This is an example of how to snipe wall breakers, assuming the RAM is the inside of the base, and the SAM is on the outside of the base
The golem will be tanking the archer tower, but not the tesla, the tesla will kill that wall breakers making it a fail
Keep in mind that it has a 7 tile shot radius or so after activation but a troop needs to come within 5 tiles or so for it to be activated
Other way to snipe wall breakers is too have a mortar pull the golem away from the compartment with value in it and then snipe the wall break
the attacker will not be able to wall break into this compartment since the mortar is drawing away the tank
(Geared cannon is slow so wbs will probably open it, but the essential idea is the same)
-Small Bombs + Pathing
Small bombs are the most common way to kill wall breakers
They should be places 3 tiles away from the wall to kill all, even if under rage. 1 tile for killing the wbs not under a rage (If the wbs come from an angle n trigger a sb 1 tile away from the wall there is a chance it won’t work and the wall will open, but if they come from an angle on a sb 2 tiles away from the wall they will die)
You can use trash to make a gap to funnel wall breakers into your sb

Wall breaker pathing is sometimes difficult to understand, a simplified version of it, is it breaks into the closest building enclosed by a wall.
In this example above, the path to the core is on the middle compartment, that is 2 spaces back, this means that the wall breakers will target the closet wall and not break open the valuable compartment first.
The storage is an extra funnel that makes sure they go to the sides, SB on either side of it would also be very effective.This is another good example on how to funnel wall breaker into SB
How to defend Loons
-Air Traps(RAM & SAM)
When defending the balloon you have can cover a defense out of range if an air defense with 3 air bombs or 1 mine, so the attacker cant sniper a mortar or another defense.
This is for goho attacks with support loons not govalo or any attack comprising of over 5-6 loons.
As long as you have your AD’s somewhat in the base and not too close to each other you’ll be fine. Ideally make it so a 1-2 golem ks with a few wbs and a sometimes a pekka can’t get them both easily.

How to defend Hogs
-Barbarian King
Majority of the time when attacking IC8 there are only a couple hogs left, if the BK is still alive the attack will probably fail
usually want to have him around a couple springs, however no splash
This is because if a GB goes off the attack will heal over and render the BK as not doing anything
Majority of the time the attacker gets the king with his killsquad
-Pathing
When building a base you want it to be as hard as possible to predict the way hogs are going to move through the base
They way to make pathing difficult is to create building the same space as the other.

This example above splits the pack of hogs
This is another common way to split hogs through pathing
This is one of the best ways to make hogging difficult, every way the hogs come through and they will get split and get picked off.

Also make sure your attacker cannot disable multiple springs due to poor pathing, for example:
The black are the hogs and the red are the spring traps that are being disabled.

A good way to position springs are as like this:
The hogs will run into every spring this way
Also make sure your spring pathing works, for example you have a good idea where hogs will go, if they go everywhere like crazy some springs may be disabled. For example, create hog splits where there aren’t too many springs.
-Spring Traps
At TH8 there is not enough dps to stop hogs with just springs
All springs at TH8 have to have frames
Frames are having 2 walls on each side of the spring to force the hogs through it and getting a max of 3 hogs per spring
At TH8 there’s is 6 springs, if each spring minus the 2-3 kill squad is going to take out, you should be able to get 9-12 hogs with springs alone. Keep in mind this is a good chunk if the 15 hog limit according to IC8 troop requirements.
With that being said you want to balance the base with springs, usually doing this by, 2 springs in the ks baiting section, 2 in the core, and 2 on the backside. (More about balancing a base below)
This creates a very nice speed of value through the base and makes the base harder to hog from every side
Springs should always be between and touching 2 defenses, no matter what

This example above is all good uses of springs with frames on them
-Giant Bombs/Double Giant Bombs
A DGB is a way to insta kill hogs under heal,
this only works if they are triggered at the same time, the hogs have to be pathed into a way that they will get in a big group and trigger the DGB


These 2 pictures are good examples of how to properly use DGB
The hogs must trigger both dgbs within fractions of seconds for them to die under a heal. They cant have any other defense to go to except 1, with the dgb in that path to said defense.
-Giant Bombs
You want to have your value spread out, all your gb should be far enough away from one another
You want to take into account where all your dps is and move them to areas where it is low
When you are placing splash defenses like bomb towers and wizard towers in your base, you want to put iit right next your your gbs so that way once your hogs get hit if they don’t heal all the hogs will be wiped out
-Clumped Small Bombs
As a defender you can artificially make another giant bomb by grouping up all 6 small bombs
This is essentially the same thing as a giant bomb and can be ending an attack if not healed over
-Skelly traps
Your skellys should always be on ground, they should also be in areas with low dps
You want them to be spread out, usually far away from the side where you bait your ks, where they will most likely hit hogs and require and extra heal or poison. These can be deadly especially at the end of an attack if the attacker does not have a poison or heal left.
-Defense ranges

Keep defensive buildings’ ranges overlapping, for example:
Here you see the archer tower being able to hit any hogs that get deployed on the cannon, this way if the cannon is busy hitting a golem or pekka/bk the attacker cannot deploy 1 hog and take out the cannon if the cannon is distracted. This is a crucial part of defending surgical hog/loon attacks.
How to defend heal spells
-Wizard Islands
Wizard tower island consist of a large compartment with only a wiz and a giant bomb, this is forced a heal on hogs and making sure the heal gets little to none value

This is a example of a Wiz island, the tesla leads the hogs into a giant bomb, The giant bomb combined with the wiz tower and tesla make the attacker use a heal or else all the hogs will die, Also a little skelly trap is something to add a bit more dps. Keep little to no value near this island, so as to waste a full heal on a gb, wt and a tesla
-Forcing a heal
Things that force a heal
*2 or more teslas (depending on how many hogs you deploy to it)
*Geared Archer Tower
*Geared Cannon
*2-3 point defenses
*Giant bombs near some other dps
*Bomb tower
* Clustered mini bombs
* Barbarian King (depending in how many hogs are under attack)
All of these things force a heal, this means if you can limit the attacker to only getting 2-3 of these things with their the kill squad, and keep the rest on the outside of the backend, the attackers hogs will most likely die.
-Limiting Value
If the attacker can heal over 4 defenses will one heal, the value is way too much.

This example is of all 4 defenses that can be covered with 1 heal. The way to defend this is to spread these compartments out more or maybe put storages instead of 1-2 defenses. 2 close gbs (not a dgb) or a gb a bt together also is too much value as one heal can cover then both.
–Defending GoDrag/GoLo


Keep your air defenses spread out so the KS cant get 2 air defenses. Keep air traps clustered on the side ofthe air defense where you think they will start there dragons/loons from. For example, The 2 air defenses on the left of the base and be easily taken out with 2 golems and some wizards. This leaves the air defense on the right easily succeptible to being lighting striked and then you will have no air defenses to counter a dragon attack with a rage spell. A better base against GoDrag would be this.
Because the air defenses are spaced out, the attacker would most likely only be able to take 1 air defense our, either the right one or the bottom one. Having to deal with 2 air defenses vs his dragons the attacker would double lightening one air defense and proceed to have to drag into another one. The 6 o clock air defense is the most un orotected air defense due to its proximity to the outside of the base and the lack of defenses near it. The ideal attack by a skilled attacker would be coming from the 3 o clock taking tha air defense out and then zapping the core air defense then dragging into the 6 o clock air defense, possibly with backup loon. Therefore clumping your air mines and air bombs near the 6 o clock air defense will make it significantly harder. Pointing the sweeper to 3/6 o clock or moving it closer to 6 o clock would also help. Since all the air defenses reasonably protected this would be an effective base against GoDrag.
Defending GoLo
This is probably the most underused strategy but it can still wreck a base if its not properly designed. The KS not taking out more then 1 air defense still applies to this attack but the sweeper plays a much larger role keep splash damage and your airmines/air bombs near the air defense you expect your attacker to start his loons from, as well as a sweeper pointing in that direction.
Helpful ratios to kill secondary stage troops
4 springs spread out on the backend will take out the hogs with a few skellies and some point defenses. (Basically don’t have the springs right next to each other and have it all able to be covered with one heal)
3 springs spread out properly with a few skellies and point defenses as well as a bk will kill the hogs. (Geared stuff always helps)
A dgb, with 1-2 springs to prevent a few hogs disabling the dgb
1 air defense and air traps to defend dragons and balloons (few archer towers teslas etc). Keep the air traps clustered by the air defense(s).
Extra
If you have questions are discord’s are above, feel free to ask. If you need either of us to review one of your bases just send us a Screenshot whenever, our discord tags are posted at the begenning if this guide. If you would like to add something or think something if wrong just let us know

Good Sample Bases:
Credit: El WarFang
Key points: Hard to get bk. Solid dgb. Good spring pathing. Geared Arch causes unbreakable core. good spread of dps without being too compact. Hard to get 2 air defenses out with a KS for backend loons/dragons.

Credit: YtryCaptain99
Key points: Dgb and bk opposite ends. Hard funnel due to golems being melted by golem traps. Wizard tower islands causing a force heal on low value. Good balance of springs, 2 backside, 2 core, 2 bait KS side. Hard to godrag this due to air traps in the back of the base, away from air defenses.

Credit: Unknown
Key points: Hard funnel with mini bombs to kill wbs. Solid springs. Good balance of springs. Spread enough to force heals in low value places. Double walls stop the kill squad and limit value

Credit: रामभक्तANKIT
Key points: mini bombs to kill wbs. Good hog pathing. Good dps to kill ks near bk.

Credit: Cain
Key points: Dgb bk on opposite sides. Wt tesla with mini bombs forces a heal. Springs spread out. Golem gets shredded by golem trap at 12. Air defenses placed well to defend GoDrag and GoVaLo.


